Drying a Goldendoodle Down to the Skin
There's nothing quite like the feeling of a freshly bathed Goldendoodle, soft and clean, but that feeling quickly sours if you don't get them completely dry. Many Goldendoodle owners face the frustrating challenge of battling damp undercoats and the inevitable matting and skin issues that follow. This comprehensive guide will walk you through the essential techniques and tools to ensure your Goldendoodle is bone-dry right down to their skin, every single time.
The Hidden Dangers of an Improperly Dried Goldendoodle Coat
It might seem like a small thing – a slightly damp patch here or there – but for a Goldendoodle, even a little lingering moisture can spell big trouble. Their unique coats, a beautiful blend of Golden Retriever and Poodle, are designed to trap air, which unfortunately also means they're excellent at trapping moisture close to the skin. This isn't just about a lingering "wet dog" smell; it's about real health and comfort issues for your furry friend.
The Root Cause of Painful Matting
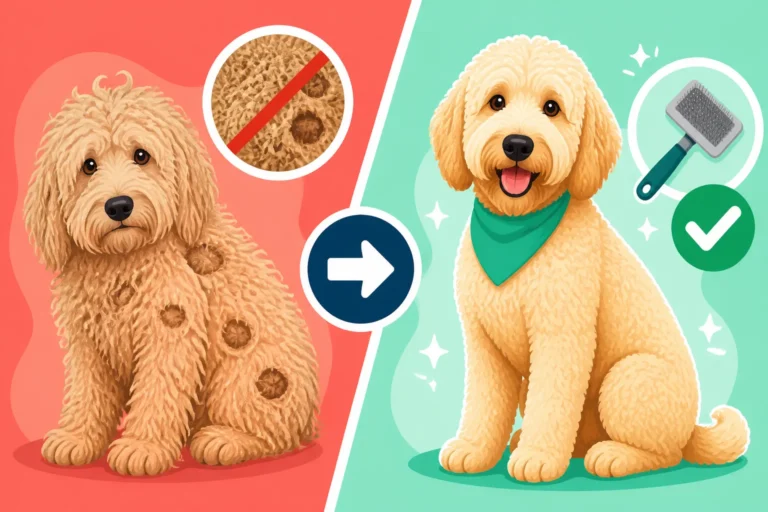
Think of your Goldendoodle's coat like a dense, intricate wool sweater. When it gets wet and isn't thoroughly dried and brushed, those individual strands of hair start to felt together. This process happens quickly and aggressively, especially in an undried coat. Moisture acts as a catalyst, binding the hairs into tight, painful mats that can pull on the skin and restrict movement. These aren't just surface tangles; these mats can form deep within the coat, right against the skin, becoming virtually impossible to brush out without causing significant discomfort or needing to be shaved. Over time, these mats tighten further, creating a solid, impenetrable layer that prevents air circulation and can even hide skin problems. This is a common frustration, and a primary reason many Goldendoodles end up needing a full shave-down at the groomer. It’s not just an aesthetic issue; it's a welfare one. Why a Goldendoodle Mats in a Week Without Brushing
Skin Infections and Hot Spots Thriving in Dampness
A Goldendoodle’s thick, damp coat creates the perfect breeding ground for all sorts of unwelcome guests – namely, bacteria and yeast. When moisture is trapped against the skin, especially in areas like the armpits, groin, or behind the ears, the skin can't breathe. This warm, moist environment allows microorganisms to proliferate, leading to itchy, inflamed, and often painful skin infections. You might notice your dog scratching, licking, or chewing excessively at certain spots. These can quickly escalate into what we call "hot spots" – acute moist dermatitis – which are intensely irritating, red, oozing lesions that can appear almost overnight. If you've ever dealt with a Goldendoodle hot spot, you know how quickly they can spread and how miserable they make your dog. These conditions are not only uncomfortable but can also be quite costly and time-consuming to treat, often requiring veterinary intervention with antibiotics or antifungal medications. Goldendoodle Hot Spots Under a Thick Coat
Unpleasant Odors and General Discomfort
Beyond the more serious health implications, an improperly dried Goldendoodle simply isn't a very pleasant companion. That persistent "wet dog" smell isn't just because they just got out of the tub; it’s often a sign that bacteria and yeast are flourishing in a damp environment. This smell can linger for days, permeating your home and furniture. Furthermore, a dog with a damp coat, especially one that's starting to mat, is going to be uncomfortable. Imagine trying to move around with a heavy, wet blanket wrapped tightly around you, pulling at your skin with every step. They might feel itchy, overheated (because the dense, damp coat acts as an insulator), and generally restless. Their ability to regulate their body temperature is compromised, and their overall enjoyment of life can be diminished. Ensuring your Goldendoodle is fully dry isn't just a grooming chore; it's a fundamental part of keeping them happy, healthy, and a joy to be around.
Essential Tools for Achieving a Bone-Dry Goldendoodle
You might be tempted to grab your own hairdryer, but trust me, your Goldendoodle's coat demands specialized equipment. Trying to dry a Goldendoodle with a human hairdryer is like trying to empty a swimming pool with a teacup – it’s inefficient, potentially damaging, and ultimately ineffective. Investing in the right tools makes the entire process faster, safer, and far more thorough.
High-Velocity Dog Dryer: Your Best Friend
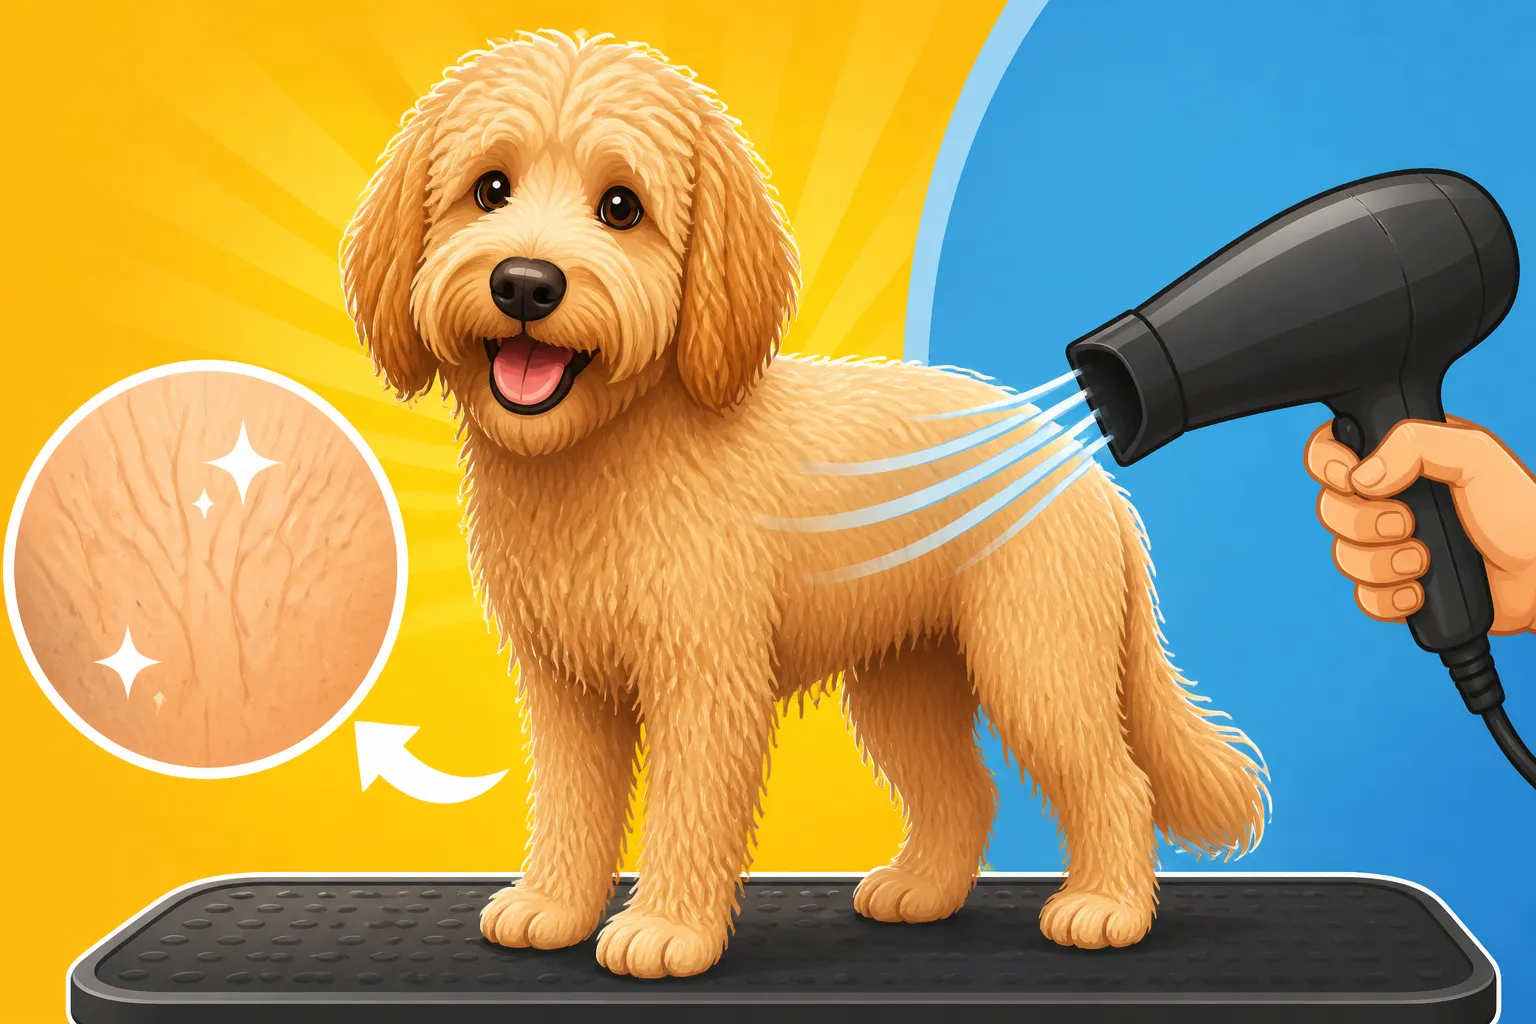
This is, hands down, the most crucial piece of equipment for drying a Goldendoodle. A high-velocity dog dryer, often called a force dryer, doesn't rely on heat like a human hairdryer. Instead, it uses a powerful stream of unheated or minimally heated air to literally blast water out of the coat. This force is what separates the individual hairs, pushing out moisture from the deepest layers of the fur right down to the skin. Human hairdryers, on the other hand, use high heat, which can easily burn a dog's sensitive skin, especially in an area like the armpit or groin where the skin is thin. They also lack the sheer power needed to penetrate a dense Goldendoodle coat.
A good high-velocity dryer will significantly reduce drying time and, more importantly, ensure that every last bit of moisture is removed. You can find excellent options from brands available on Amazon or Chewy, often starting with single-motor models for home use. The force of the air also helps to de-shed loose hair, making brushing easier and reducing the amount of shedding around your home. It's a game-changer, truly.
Absorbent Towels and Microfiber Wonders
Before you even think about turning on the force dryer, you need to remove as much standing water as possible from your Goldendoodle's coat. This is where highly absorbent towels come in. Regular cotton towels work, but specialized microfiber dog towels are often even better. They are designed to soak up a tremendous amount of water quickly.
After the bath, gently but firmly squeeze water from your Goldendoodle's fur, especially from the longer hair on their legs, ears, and tail. Then, blot their entire body with the absorbent towels. Don't rub vigorously, as this can create tangles and static. The goal here is to get them damp, not dripping wet. This initial towel-drying phase helps to shorten the overall drying time with the force dryer and prevents you from simply blowing excess water all over your bathroom. It’s a simple step that makes a big difference in efficiency.
Slicker Brushes and Metal Combs: The Detangling Duo
Drying and brushing are two steps that absolutely must go hand-in-hand with a Goldendoodle. You cannot effectively dry a Goldendoodle down to the skin without simultaneously brushing out their coat. For this, you’ll need two key tools: a good quality slicker brush and a sturdy metal comb with both wide and narrow teeth.
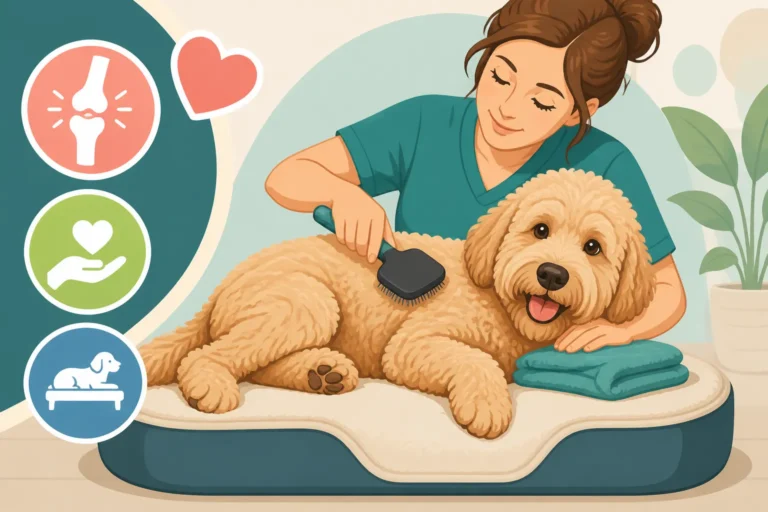
The slicker brush is your primary tool for fluffing the coat and separating the hairs as the dryer blasts away moisture. It helps to lift the hair, allowing air to reach the skin and ensuring even drying. As you dry, you'll be constantly brushing through the coat, making sure no knots or tangles are forming. The Slicker Brush and Comb a Goldendoodle Needs
The metal comb is your "truth teller." After you've worked through a section with the slicker brush and the dryer, the comb is what you'll use to ensure that you've brushed out any remaining tangles and that the coat is truly dry and smooth all the way to the skin. If the comb snags anywhere, you know there’s either a damp spot or a hidden mat that needs more attention. Always check your work with the comb – it's the only way to be certain you've done a thorough job.
Your Step-by-Step Guide to Drying Down to the Skin
Drying a Goldendoodle isn't a race; it's a methodical process that requires patience and technique. Rushing through it is the surest way to end up with damp patches and eventual matting. Break it down into manageable steps, and you'll be rewarded with a beautiful, healthy, and truly dry dog.
Pre-Drying Prep: Squeeze, Blot, and Detangle
Immediately after the bath, before your Goldendoodle even leaves the tub or grooming area, begin the pre-drying process.
First, use your hands to gently squeeze excess water from their fur. Focus on the longer feathering on their legs, tail, and ears. Don't twist or wring the hair, just a firm, gentle squeeze.
Next, grab your absorbent towels. Drape them over your Goldendoodle and blot, rather than rub, their coat. Press the towels down firmly to soak up as much water as possible. You want to get them past the dripping stage and into a consistently damp state. Replace saturated towels with dry ones as needed.
Once they are towel-dried, give their coat a quick, gentle comb-through with your wide-toothed metal comb. This isn't about getting them perfectly smooth yet, but rather about catching any large, obvious tangles that might have formed during the bath. These are much easier to work out when the hair is still wet, before the force dryer sets them in place. If you encounter any significant knots, work them out carefully with a detangling spray designed for dogs before moving on. This initial detangling will save you a lot of time and heartache later. Conditioner and Why a Goldendoodle Needs It
Sectioning and Systematic Drying
Now comes the main event with your high-velocity dryer and slicker brush. The key here is to work systematically, section by section. Trying to dry the whole dog at once is overwhelming and ineffective.
- Start with the rear: Many groomers begin with the back legs and tail, as these areas can take longer to dry and dogs often tolerate drying them better before they get tired.
- Section the coat: Using your free hand (or clips, if you find it easier), separate a small section of hair. Hold the force dryer nozzle close to the skin, pointing the air with the direction of hair growth, or slightly against it to lift the hair.
- Blast and brush: As the dryer blasts the air, simultaneously brush that section of hair with your slicker brush. The goal is to "stretch" the hair and push the water out. You'll literally see the water flying off the coat. Work downwards, from the root to the tip.
- Move systematically: Once that small section feels dry and fluffy right down to the skin, move to the next adjacent section. Overlap your sections slightly to ensure no damp spots are missed.
- Work your way up: Continue this process, moving up the legs, then to the body, then the chest and neck, and finally the head and ears. The face and ears often require a lower setting on the dryer and more gentle handling, especially if your dog is sensitive to the noise.
- Pay attention to problem areas: Spend extra time on areas prone to matting and dampness: armpits, groin, behind the ears, the beard, and between the paw pads. These are the spots where moisture loves to hide and matting forms quickest. Behind the Ears and the First Goldendoodle Mats Trimming Hair Between Goldendoodle Paw Pads
The constant brushing while drying is vital. It not only helps to separate the hair for efficient drying but also smooths out the coat, giving you that beautiful, fluffy Goldendoodle look.
The 'Test' for True Dryness
How do you know when your Goldendoodle is truly dry down to the skin, and not just fluffy on the outside? There's a simple test that groomers use:
- The "Comb Test": After you believe a section is dry, take your metal comb and gently run it through the hair, starting at the tips and working your way down to the skin. If the comb glides smoothly through the entire length of the hair without snagging, that section is likely dry and tangle-free. If it snags, you still have moisture or a mat. Why a Damp Goldendoodle Coat Mats Faster
- The "Feel Test": Slide your fingers deep into your Goldendoodle's coat, right down to the skin. Pay particular attention to dense areas like the ruff around the neck, the armpits, and the thicker coat on their back. The skin and hair should feel completely dry and warm, not cool or clammy. If you feel any coolness or residual dampness, keep drying.
- The "Fluff Test": A properly dried Goldendoodle coat will feel light, airy, and fluffy, with each hair standing individually. If the coat still feels heavy, dense, or clumped, it's not fully dry.
Don't be afraid to revisit areas multiple times. It's far better to over-dry a section (within reason, always mindful of heat) than to leave it damp. This thoroughness is what prevents those painful mats and skin issues from developing in the hours and days after a bath.
Common Drying Pitfalls and How to Avoid Them
Even with the right tools and a general understanding of the process, it's easy to fall into common traps when drying your Goldendoodle. Knowing what to watch out for can save you a lot of grief and ensure a much better outcome for both you and your dog.
Using the Wrong Tools or Techniques
This is probably the most common mistake new Goldendoodle owners make. We talked about it earlier, but it bears repeating: never use a human hairdryer on your Goldendoodle. Human hairdryers get far too hot and can easily burn your dog's skin, which is much thinner and more sensitive than human skin. The constant, intense heat can also damage their hair follicles, leading to coat problems down the line. Furthermore, they simply don't have the force to separate the dense Goldendoodle coat effectively, meaning you'll likely dry the outer layer while leaving the undercoat stubbornly damp.
Another technique pitfall is not brushing while drying. Some owners try to dry their dog first and then brush, or they just blast air without brushing. This is a recipe for disaster. The heat and air from the dryer, without simultaneous brushing, can actually set existing tangles and create new ones, making them much harder, if not impossible, to remove later. The force dryer and slicker brush must work in tandem to achieve that deep, tangle-free dryness. It's a dance, really, and both partners need to be engaged for it to work. Home Grooming Tools a Goldendoodle Actually Needs
Rushing the Process: The Temptation to Cut Corners
Let's be real, grooming a Goldendoodle is a time commitment. Whether you're doing it yourself or taking them to a professional, it takes hours. When you're standing there, arm tired, listening to the roar of the dryer, the temptation to cut corners and declare them "good enough" can be overwhelming. However, this is precisely where problems start. Rushing the drying process is almost always the cause of those insidious mats and skin irritations we talked about.
It's common for the top layer of the coat to feel dry and fluffy, giving the illusion that the job is done. But deep down, especially in the armpits, the groin, behind the ears, or under the collar line, moisture can still be lurking. It's during these moments of impatience that those damp spots are missed, creating perfect conditions for matting and bacterial growth. Understand that a proper Goldendoodle drying session, especially for a standard size, can easily take an hour or more, even with a powerful force dryer. Plan your time accordingly, put on some music or a podcast, and commit to seeing the job through completely. Think of it as an investment in your dog's comfort and health, saving you from future vet visits or expensive dematting fees. Booking a Goldendoodle Groom Six Weeks Out
Neglecting the 'Hidden' Spots
Goldendoodles have certain anatomical areas where their dense fur and skin folds create perfect hiding places for moisture and subsequent matting. These are the spots often overlooked when drying, either due to their awkward location or simply because they're out of sight, out of mind.
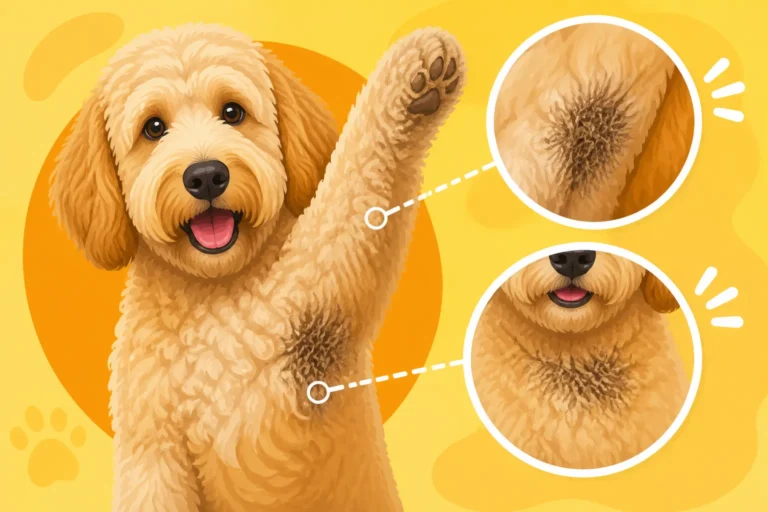
- Armpits and Groin: These areas are always problematic. The skin here is thin and sensitive, and the fur is often quite dense. Dogs move a lot, causing friction, which combines with trapped moisture to create tight, painful mats very quickly. Be extra diligent here.
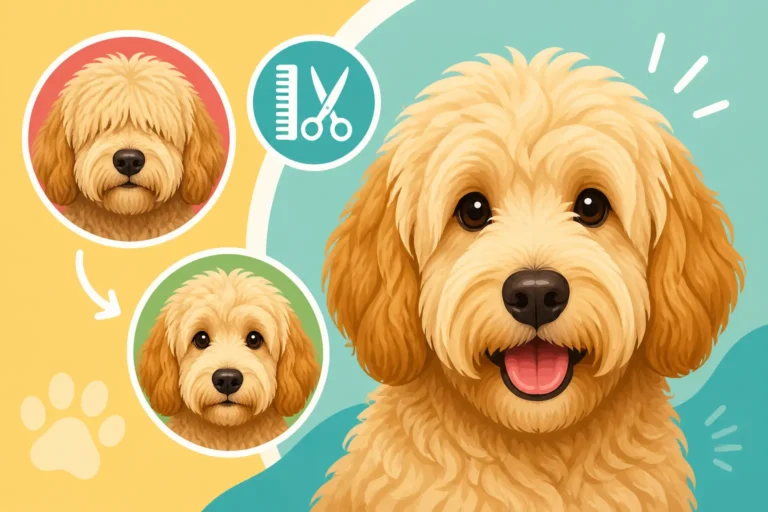
- Behind the Ears: This is another notorious mat trap. The hair behind the ears is often finer and more prone to tangling, and the natural ear flap can trap moisture. Behind the Ears and the First Goldendoodle Mats
- Paw Pads and Between Toes: Moisture between the paw pads can lead to yeast infections and discomfort. Ensure you spread the toes apart and direct air into these areas.
- The Beard and Muzzle: For furnished Goldendoodles, the beard can stay damp for a long time, leading to odor and skin issues around the mouth.
- The Base of the Tail and Underside: These areas are dense and often missed. Make sure you lift the tail and gently turn your dog to access their underside.
To avoid neglecting these spots, make it a mental checklist. As you work through each major section of your Goldendoodle's body, pause and specifically target these hidden areas with extra dryer time and thorough brushing. Remember, a quick once-over isn't enough; you need to feel and comb right down to the skin to ensure complete dryness. Your Goldendoodle will thank you for the extra effort!
Disclaimer
This article is for general informational purposes only and does not constitute professional advice. Laws, prices and regulations vary by location and change over time. Consult a qualified professional for guidance on your specific situation.